OPC UA Book
 The first OPC Unified Architecture Book, written by Wolfgang Mahnke, Stefan-Helmut Leitner and Matthias Damm one of the co-founders of ascolab.
Webdav
This page describes how to add a Webdav share to your Windows Explorer Network locations.
Step 1: In the Windows explorer right click on the "Computer" icon and choose "Map network drive..." to open the wizard for adding network shares.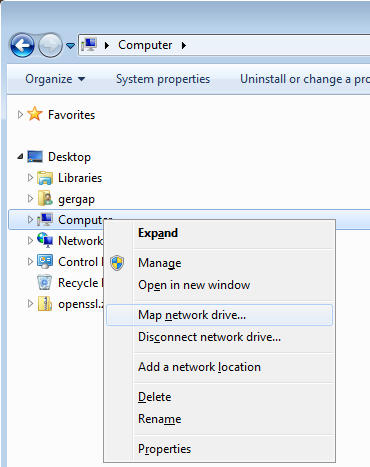
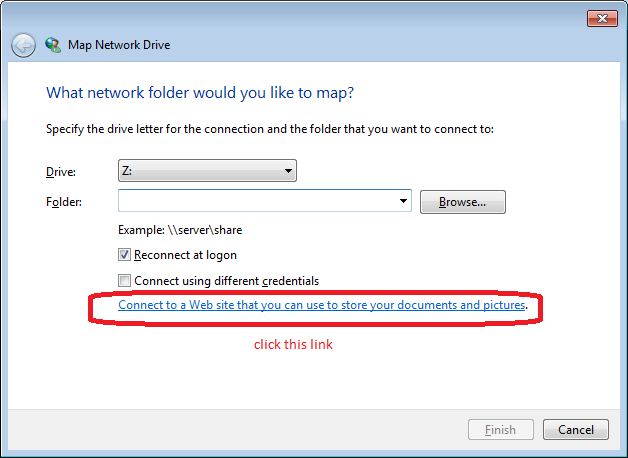
Step 2: Follow the link "Connect to a Web site that you can use to store documents and pictures"
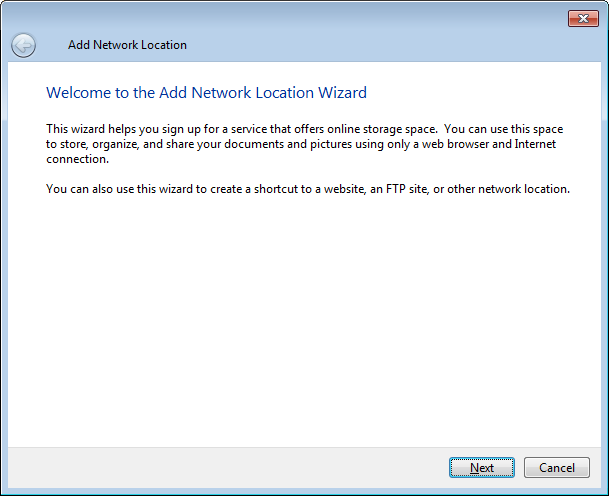
Step 3: click "Next" to follow the wizard
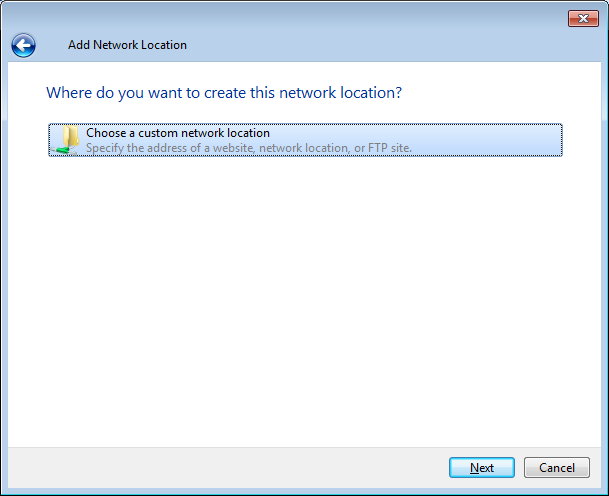
Step 4:Choose a custom network location (to specify a network location that is a web site address)
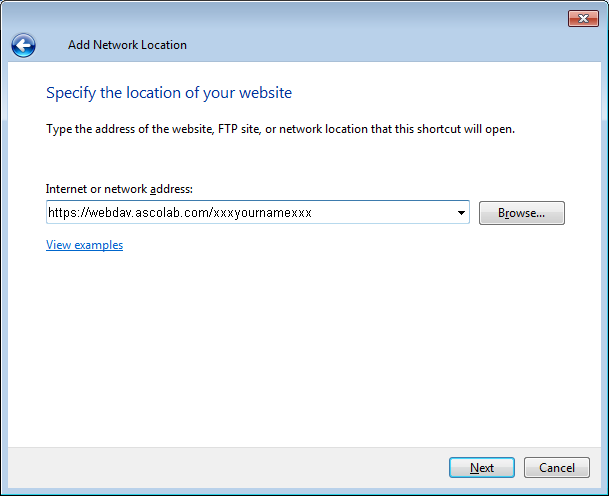
Step 5: type in or copy the link provided in the Email you received by ascolab (must enter your name instead of xxxyournamexxx)
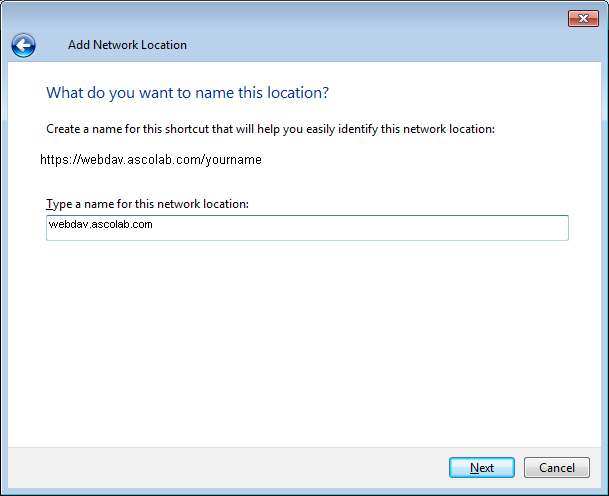
Step 6: give this location a name to appear in your Explorer later on
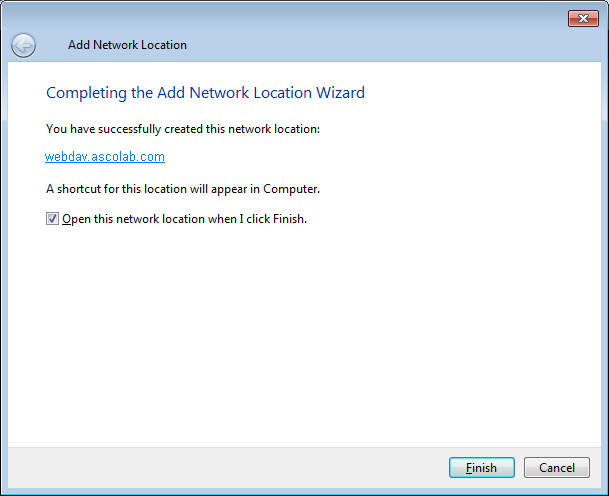
Step 7: click "Finish" and directly open the new network location (you will be asked to accept a certificate "Yes" and than you will be asked for password)
")
")